Not everyone has the space for a backyard vegie garden. But most people will have the space to grow microgreens. A sunny windowsill or well-lit kitchen bench is all the space you need.
Microgreens are vegetable seedlings that are harvested when only a few weeks old. They are packed with nutrients, can fit into the tiniest of spaces and are quick and easy to grow.
Microgreens are super nutritious
Because microgreens are harvested soon after germination, they contain all the nutrients a new seedling needs to grow. A study of the nutritional content of microgreens found that they are more nutrient dense than their full-grown, mature counterparts.
If I feed Little Eco half a cup of red cabbage microgreens (by hiding them in a smoothie or cheese omelette), she’ll be eating the equivalent of three to 35 cups of red cabbage (depending on which vitamin you consider).
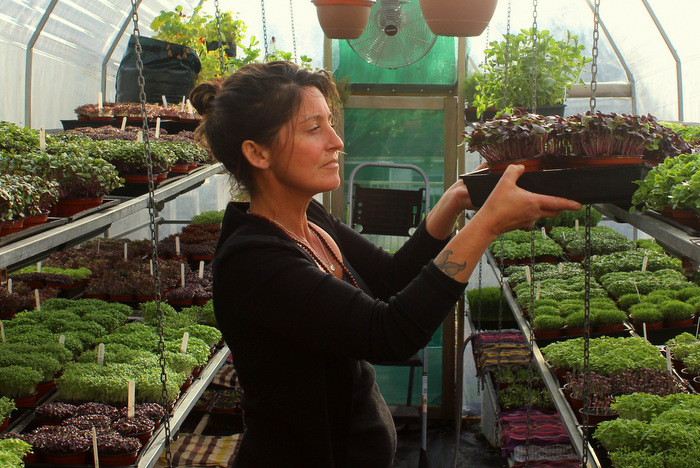
Microgreen growing tips from urban micro farmer Elle Brown
Photo: Tallulah Brown
Keen to grow my own microgreens, I asked urban micro farmer Elle Brown, from Newcastle Greens, for some tips.
Elle grows 32 varieties of microgreens in her backyard glasshouse. She delivers fresh microgreens to more than 30 restaurants and cafes up to three times a week.
Elle tells me the secret to growing healthy microgreens is to use good quality seed and soil.
Given that microgreens are eaten so young, it’s important to use “organic or untreated seed“, Elle says. Many of the seeds you’ll find at your local nursery or hardware store will have been fumigated or treated with fungicide. If buying from these places, use only seeds labelled as suitable for sprouting or microgreens. Untreated microgreen seeds can be bought online from Greenharvest and Edenseeds.
Your pantry is also a great source for microgreen seeds. I’ve just been through my pantry and pulled out buckwheat, chickpea, linseed, mung beans, mustard seeds and popcorn. Lentils, oats, barley and chia seeds are also good as microgreens.
To grow healthy microgreens, you need to use a good quality seed raising mix or herb and vegetable mix. Elle makes her own seed raising mix to which she adds rock dust, a natural fertiliser. She’s tried a range of brands and recommends Munash performs particularly well. I’ll be trying various combinations of seed raising mix, coir or coco peat, rock dust and worm castings.
How to grow microgreens
Microgreens can be grown in a range of containers, including recycled strawberry punnets, seedling trays, or plastic take-away containers. Make sure the container is well draining and add drainage holes if needed.
I’m using old casserole dishes that I’ve drilled holes in the bottom of.
Elle says that “Daikon or Rambo radish are good to start with, as they germinate relatively quickly and aren’t as fussy as some varieties. Broccoli and rocket are also good for beginner growers“.
To sow seeds, evenly distribute a thin layer of seeds on to moist soil. Cover the seeds with a thin layer of soil. “Keeping your pots moist and warm during the germination period is very important,” Elle says.
Microgreens can be harvested with a pair of scissors within only a week or two of sowing.
Start a second crop of microgreens a few days to one week after the first and you’ll have continuous crops ready for harvest.
Those of you in the Newcastle area can buy microgreens direct from Elle by contacting her via her website or instagram.
Originally published in the Newcastle Herald Monday 7th September 2014.